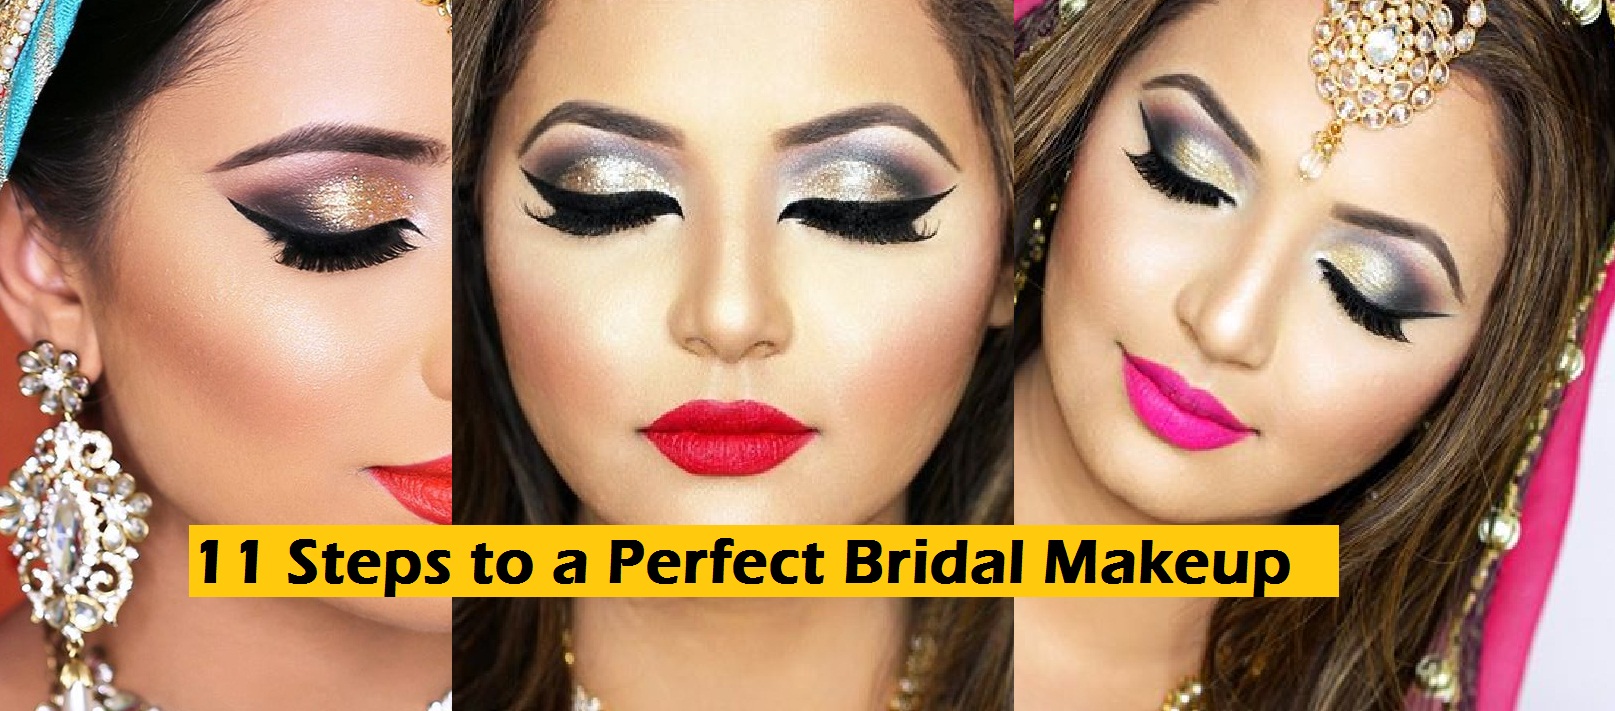
Neither too hot nor too cold, that’s why this season is considered best for weddings, in Asia. When we are talking about weddings then how can we ignore the bridal makeup? A poor makeup can destroy the charisma of an outstanding dress and even a beautiful girl. Whether you are going to parlor or not you must know the way how to do a bridal makeup, so that if you aren’t going to saloon you may do it yourself and if you are going to saloon then you could save your look. Its doesn’t matter whether you are Asian or European this tutorial will be ideal for you having any type of skin. For this purpose, her we are giving you a concise bridal makeup tutorial for Eastern including Indian, Pakistani, Egyptian, Arabian, Malaysian etc as well as Western brides like American, Italian, French etc.
Best & Most Easy 11 Step Complete Bridal Makeup Tutorial:
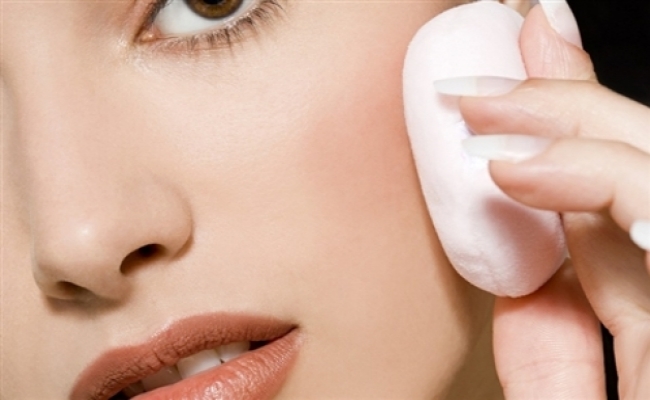
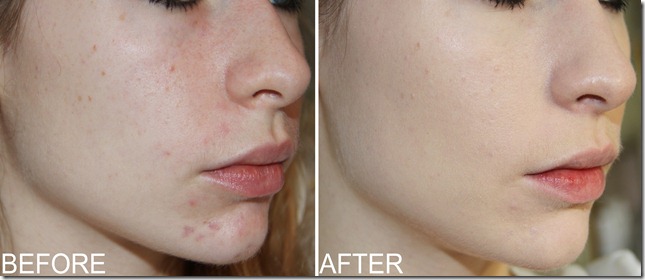
1# Preparing Skin:
Prepare your skin. Whether you’re doing your makeup yourself or not, the day of your wedding, wash your face and use a light moisturizer. Whatever your routine has been now being not the time to change it. If you exfoliate, however, stay away from a harsh scrub and use a gentle exfoliating cleanser. If you have a blemish, dab some Visine on it but otherwise leave it alone. Your focus should be on having the clean and soft skin, your makeup needs to achieve natural-looking, beautiful skin.
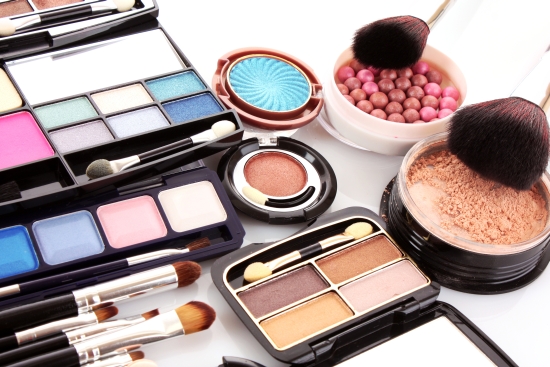
2# Choosing the Right Makeup:
- Let your skin tone and undertone guide your makeup color choices. While there are specific skin types, makeup companies use their terminology to describe their makeup colors along the continuum of skin tone. And they aren’t particularly consistent at that. For example, one company might call its lightest foundation “ivory” while another calls the same color “fair.” Thus, in thinking about colors that match your skin tone, it’s best first to think broadly in terms of the range from “fair” to “medium” to “deep.”
- Your skin’s undertones, cool or warm – are also a factor when choosing both matching and complementary colors.
- You can determine your undertone with a quick trick. Hold a piece of silver and a piece of gold jewelry to the back of your hand. If the gold seems to melt away, you have a warm undertone. If the silver does, you have a cool undertone.
3# Applying Primer:
Know that primer is required. Between the time you begin applying your makeup and the time you say goodbye to your guests, a lot will have happened. Using a primer before you apply your makeup will help ensure it holds up through the dancing, crying and toasting. You’ll likely still need occasional touch-ups, but they’ll be much less frequent. Additionally, a primer will help smooth fine lines and wrinkles and disguise open pores.
Use a small amount after you’ve moisturized, but before you put on a foundation. Spread it evenly on your face and eyelids to create a smooth base for everything to come.
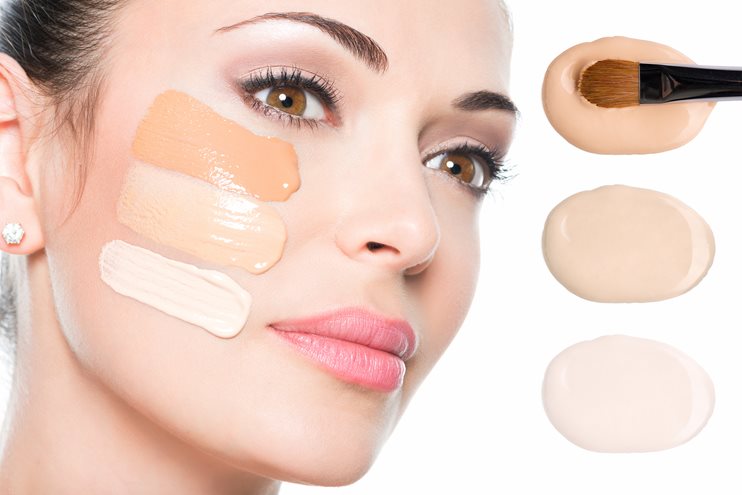
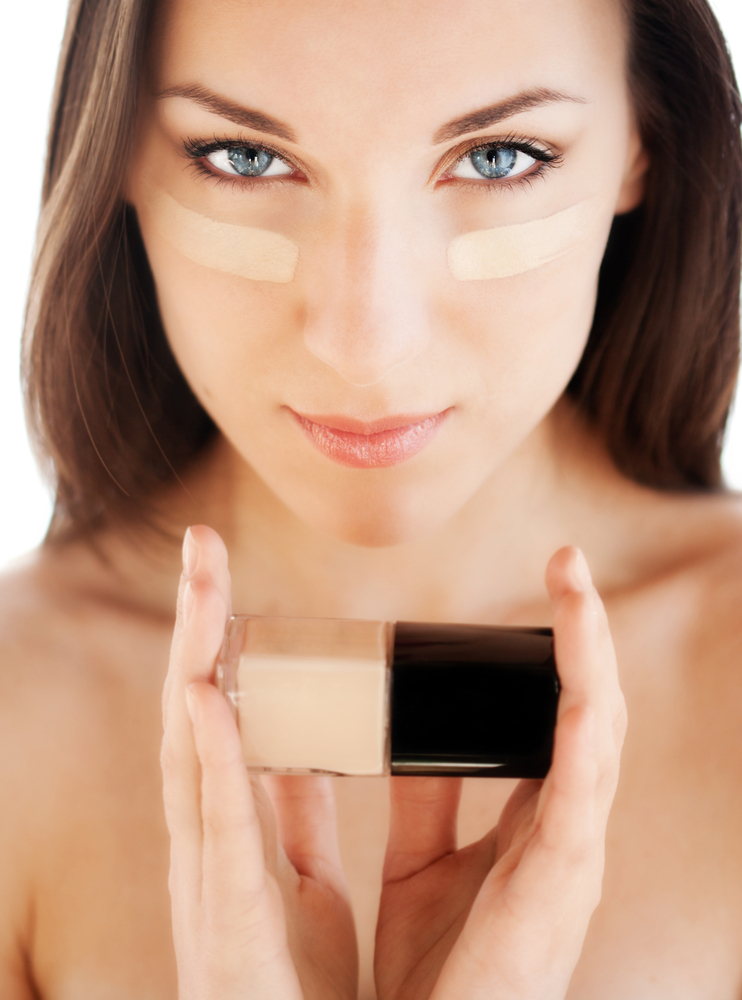
4# Put Foundation:
- Apply foundation next. Often people think concealer goes on before foundation, but the experts say different. After you’ve put on the primer, allow it time to dry or set. One of the biggest mistakes you can make when applying makeup is not giving each step time to dry. If needed, turn your hair dryer on its coolest setting and wave it back and forth across your face before moving from one step to the next. But it’s not a very good idea for Asian skins.
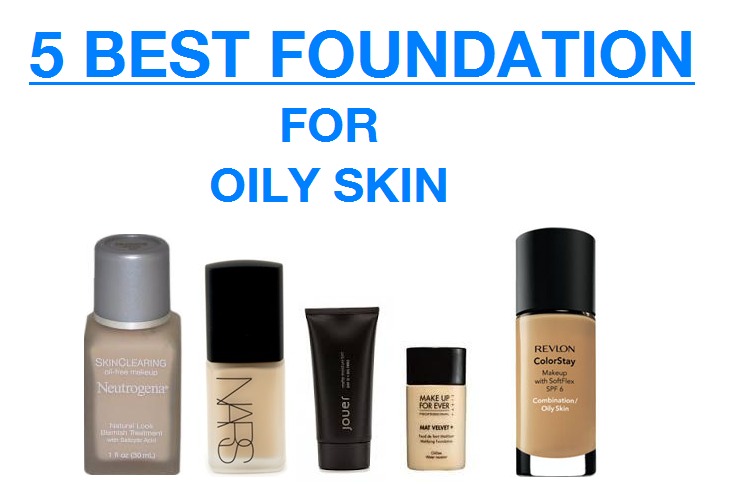
Foundation for All Skin Tones:
- If you have a cool undertone, look for the foundation that has a rosier, redder or blue base.
- If you have a warm undertone, use a foundation with a yellow or golden base.
- To determine if the shade is right, dip a Q-tip in the foundation and apply it to the center of your lower jawline. If it vanishes, it’s the right one!
- Apply foundation in thin layers, starting from the middle of your face and blending outward using a foundation brush. You don’t want any visible lines, so pay close attention to blending beneath your jaw and on your neck.
- Don’t cake on foundation. It will look overdone and likely smear or streak.
- Also will destroy your photographs.
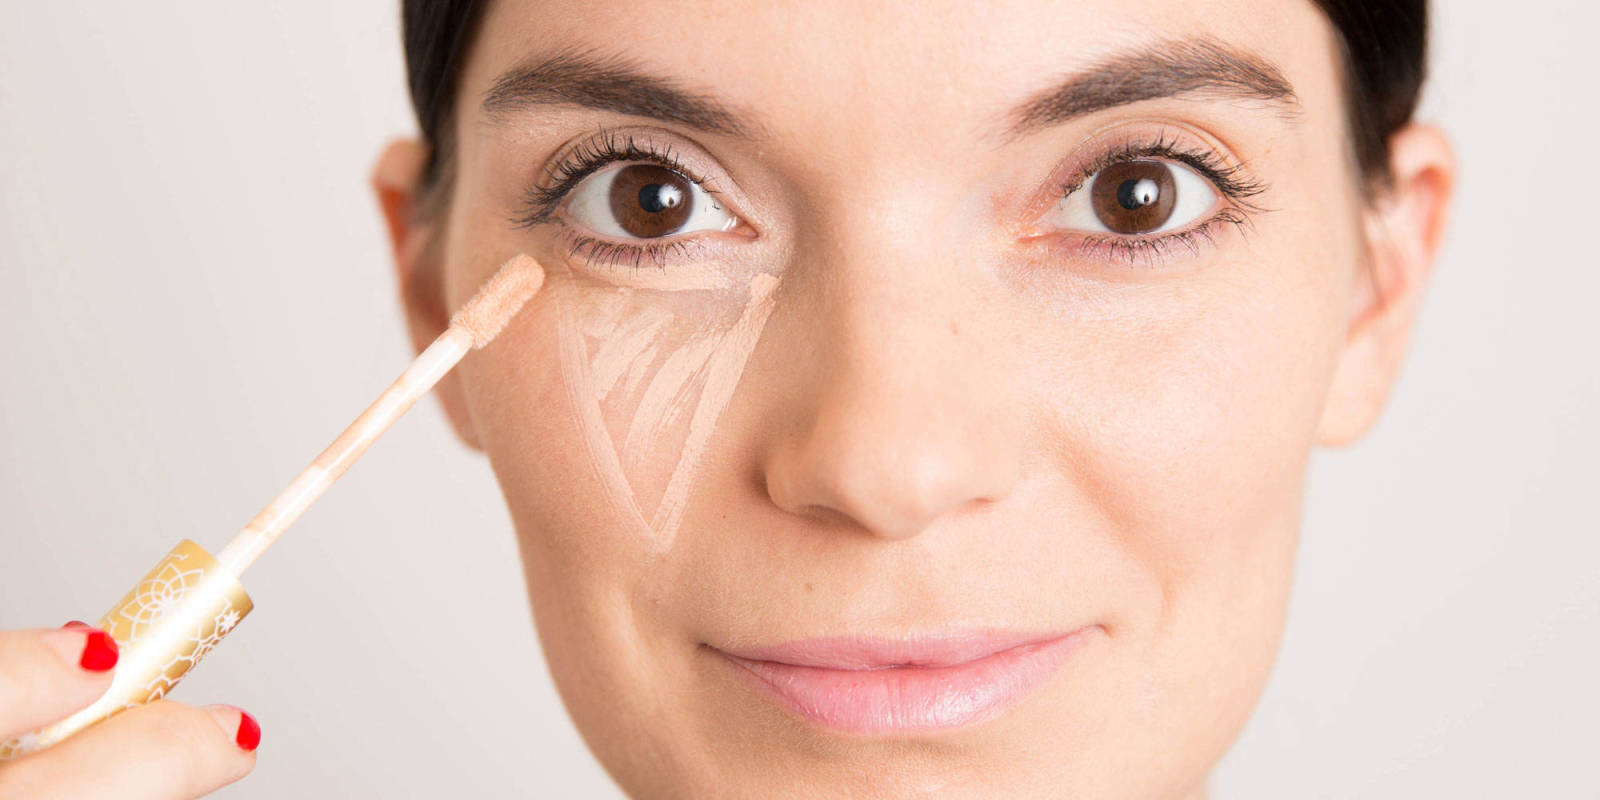
5# Applying Concealer:
- Add concealer where needed. Foundation is designed to even skin tone; concealers are designed to hide things, like blemishes and dark circles under your eyes. If you were to apply it to your foundation, you’d rub much of it away while working the foundation into your skin. To cover red areas or dark circles, use a concealer brush to dot a liquid concealer the same shade or one shade lighter than your skin tone along trouble areas. Then pat the brush against your skin to spread the concealer. If it’s not blended enough, dip the tip of a makeup sponge in water and work the concealer outward.
- To hide a blemish, put foundation on it first, and then apply concealer before setting it with powder. If you can still see it, add more concealer and powder. Make sure you pat the concealer on the blemish. Don’t rub.
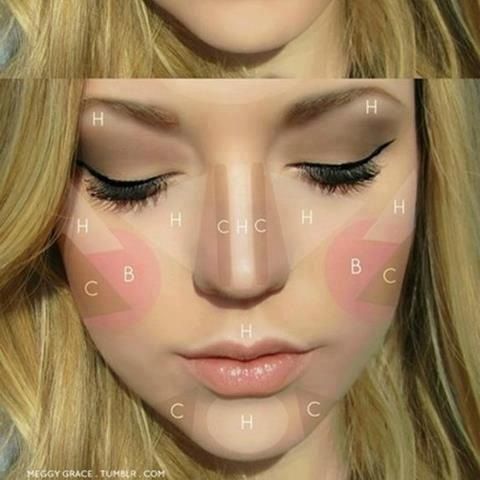
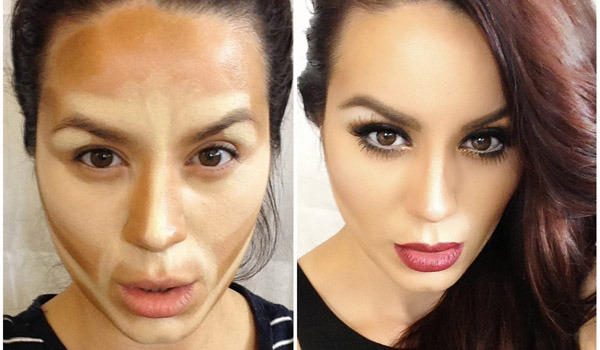
6# Go for Highlighter & Bronzer:
- Apply highlighter, but go easy on it. Highlighter isn’t always in everyone’s makeup bag, but its purpose is to make certain facial features like eyes appear larger and to add both glow and a youthful, dewy look. Using too much, or a formulation with sparkle or glitter, is a recipe for photo disaster, so treat lightly. They come in both liquid and powder forms.
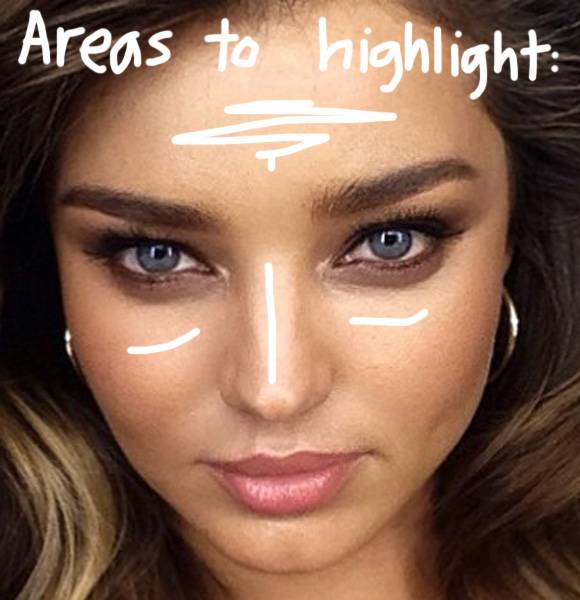
- If you use a liquid, dab it on with a brush after your foundation in the shape of a check mark. Start near your inner eye, go down at a slight angle toward your nostril and then up your cheekbone, blending toward your temple. Do the same above your brows, down the center of your nose, the center of your forehead and your chin.
- If you’re using a powder highlighter, use it after your powder and brush it under your brows, lightly in the corner of your eyes and on the tops of your cheekbones. Don’t use powder highlighter under your eyes or over your mouth or you’ll look sweaty in photos.
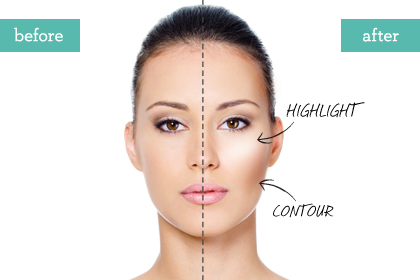
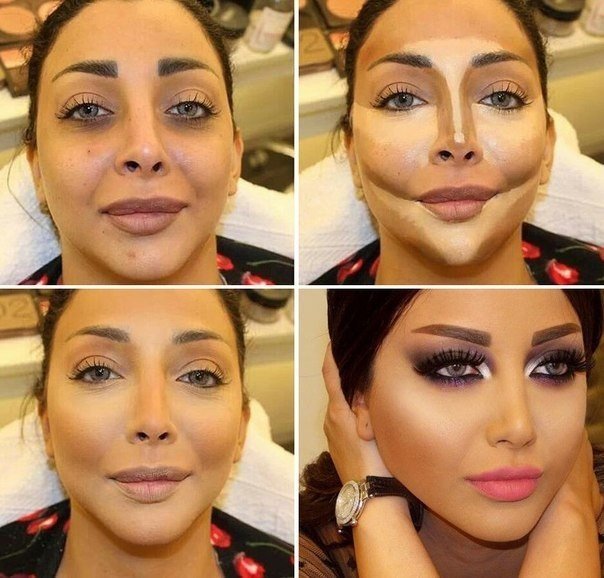
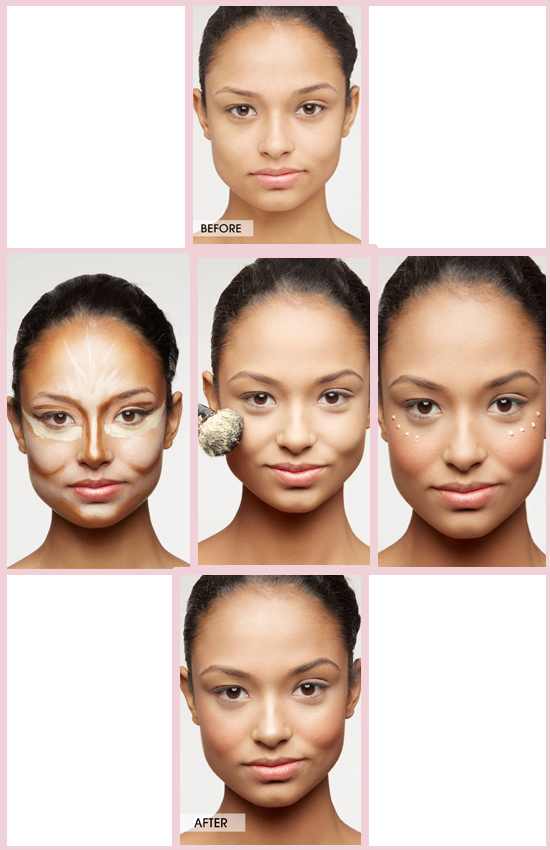
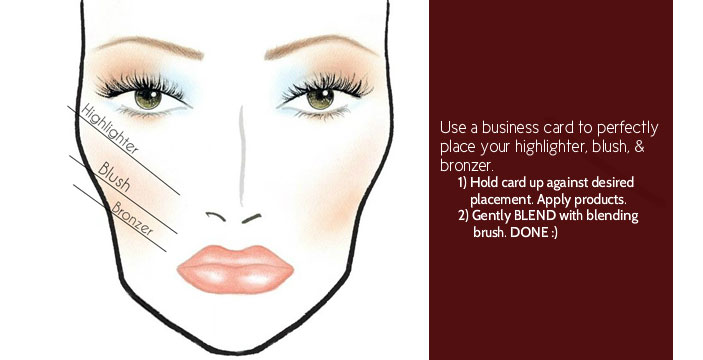
7# Doing Base Contouring:
- Set your base and then contour. You can use a cream blush rather than a powder blush or set your base with powder. If you opt to use a powder blush, first use a translucent powder to set your base and control shine. The powder is one of those times when less is more. You’re going for luminous, not laden down. Use a medium-sized brush to dust lightly over your forehead, the sides of your nose and on your chin.
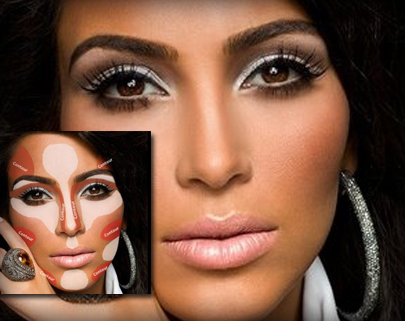
- Then use a powder bronzer that’s just a shade or two darker than your foundation and brush it in the shape of a three on both sides of your face.
- To do so, start at your hairline, move down the side of your face and then under your cheekbone, back to the side of your face and then below your jaw.
- Have pressed powder on hand. There are always areas that shine and need a quick dab before a photo or while in the restroom.
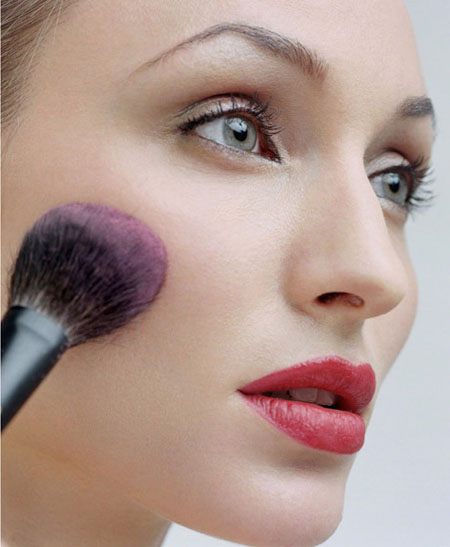
8# Applying Blush:
- Blush gently. Whether you’re using a cream blush prior to your powder or powder blush after, go lightly with the blush. You can always add more. Apply blush to the apples of your cheeks and blend upwards and out toward your hairline. You don’t want a pink nose, so don’t brush it there. To finish, do a small check mark at your cheekbones.
If you have fair skin with cool undertones, colors like soft rose or baby pink with hints of mocha or beige will look nice.
Bush Makeup for All Skin Color Tones:
- If you have fair skin with warm undertones, go for golden apricot or a light peach with a bit of pink.
- If you have medium skin with cool undertones, try cranberry, light raspberry or rosy pink.
- If you have medium skin with warm undertones, look for soft coral with hints of brown or sun-kissed apricot.
- If you have deep skin with cool undertones, blush on shades of plum, grape, and raspberry.
- If you have deep skin with warm undertones, keep it rich with brown suede or a deep coral with a little bronze.
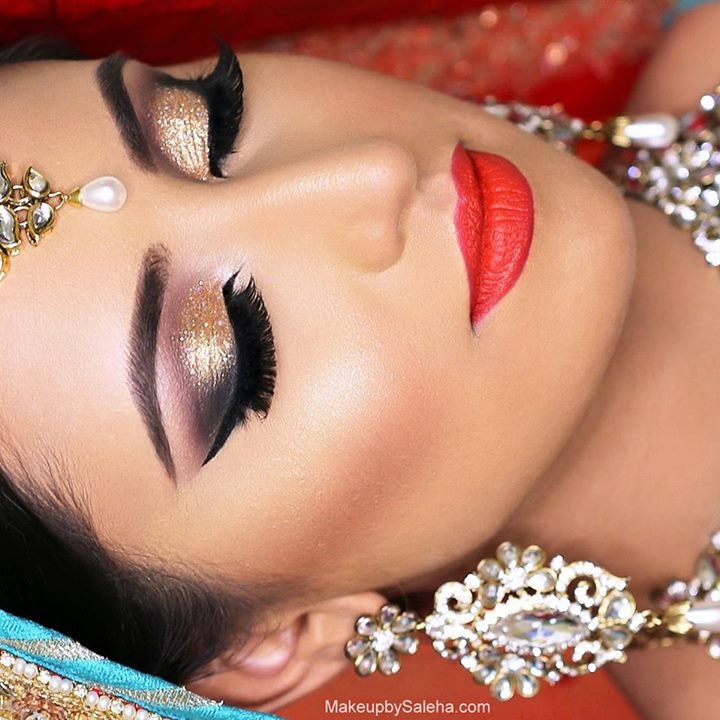
9# Making Eyes Look Bigger & Prominent:
- Bring color to your eyes with shadow and liner. Wedding experts generally don’t recommend a darkly dramatic eye, opting instead to use eyeliners in colors other than black, paler or muted eye shadows complementary to your eye color, and highlighters to make eyes look large. Try brown, gray, and green eyeliners and apply it to both your top and bottom eyelids to draw attention to your eyes. Using a cream eye shadow will last longer and is best used on the lids of your eye while a powder is best in the crease of your eye. Use a powder highlighter in the corners of your eyes and under your brow.
As for colors, try bronze shades if you have green eyes, mocha if your eyes are hazel, navy and dark brown for blue eyes, and purples and grays for brown eyes.
- Dampen an eyeliner brush with water and brush it into your eye shadow if you want to line your eyes with your eye shadow
- More will be listed in eye makeup tutorial.
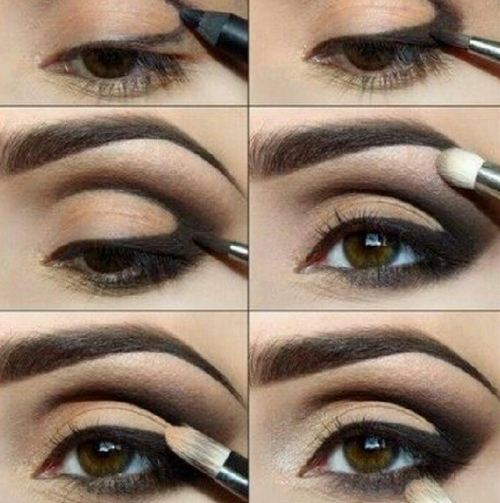
10# Doing Eye Makeup:
- Add mascara and tidy up your brows. There likely will be tears more than once, so you must have waterproof mascara. Also, if you don’t already regularly wear false eyelashes, your wedding day is not the day to start. Instead, make sure you have a good eyelash curler, volumizing mascara and lengthening mascara. Curl your lashes before applying both. With your mascara, start at the root of your eyelashes and wiggle up from side to side to the top. Go with black – it looks good on everyone.

- Finish by framing your face with a brow powder a little darker than your natural color. Brush it into the natural line of your eyebrows, working outward to the end of your eyes.
11# Choosing Lip Color/ Lip Makeup:
Create lips that look good and last. Just as you need your facial skin to be well moisturized prior to applying makeup. Your lips also need to be moisturized so they aren’t so dry or cracked that once color is applied all you see are lines. To avoid this, use a lip hydrator and let it absorb a couple of minutes before applying color. Choose a color that complements your blush while also following these tips. Also, while many newer lipsticks claim to last hours, going with a lip stain is a better bet on your wedding day.
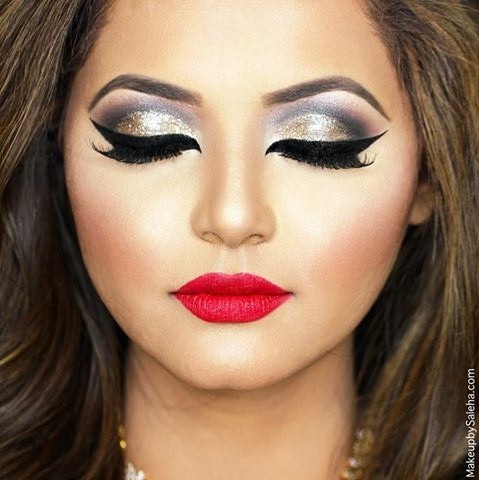
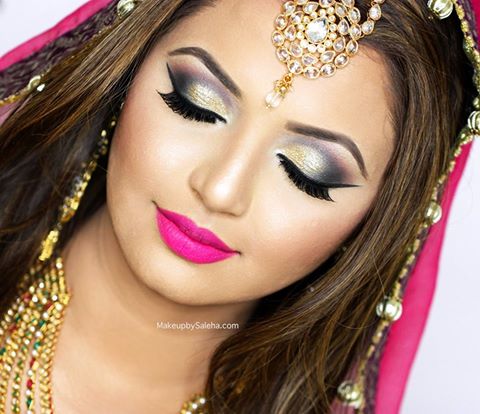
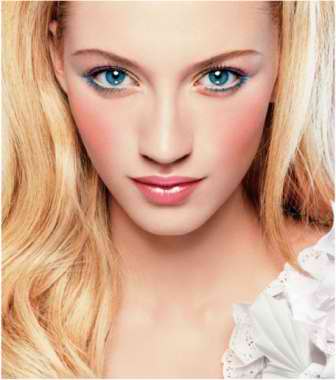
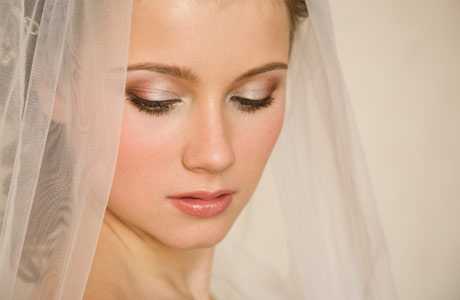
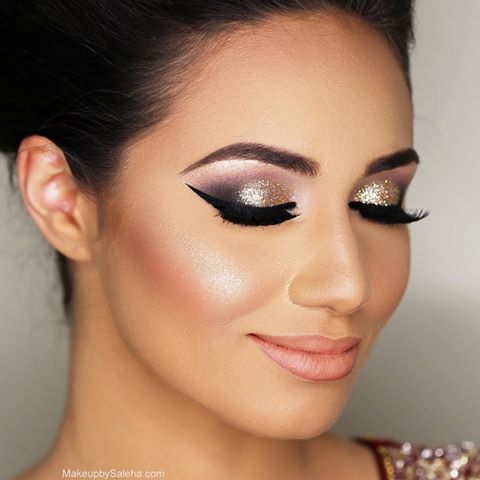
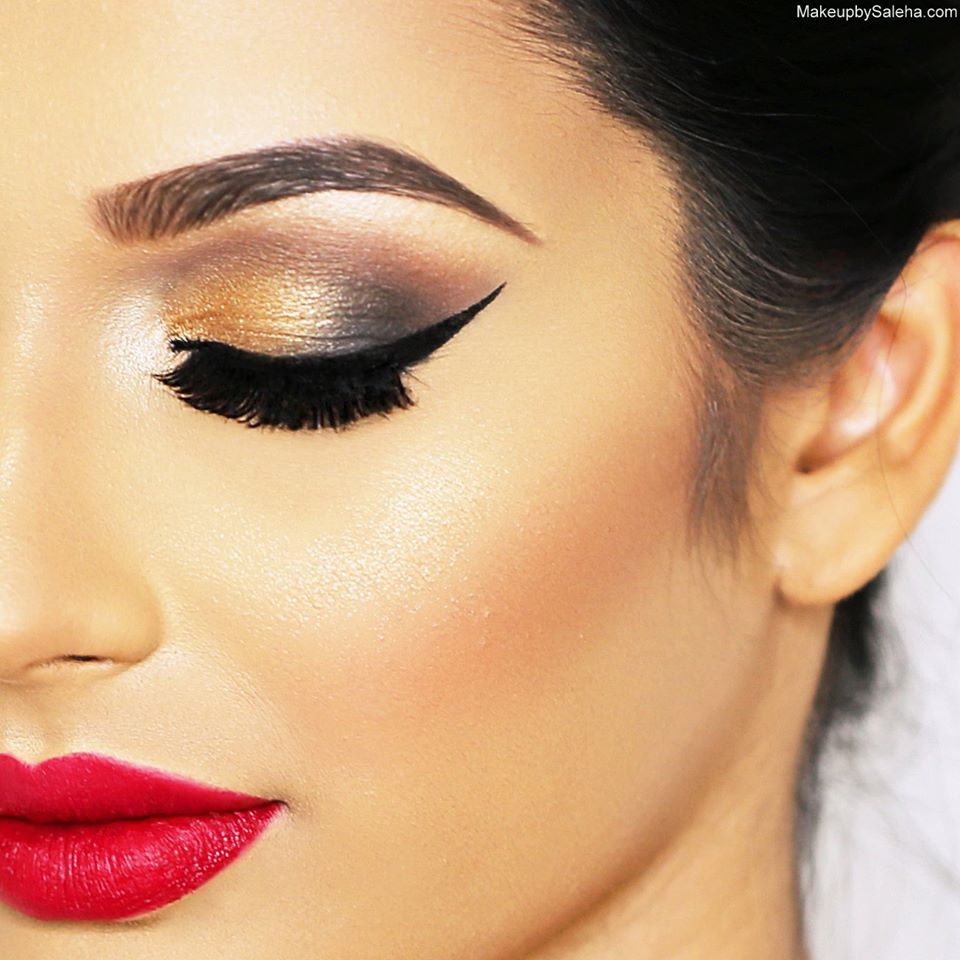
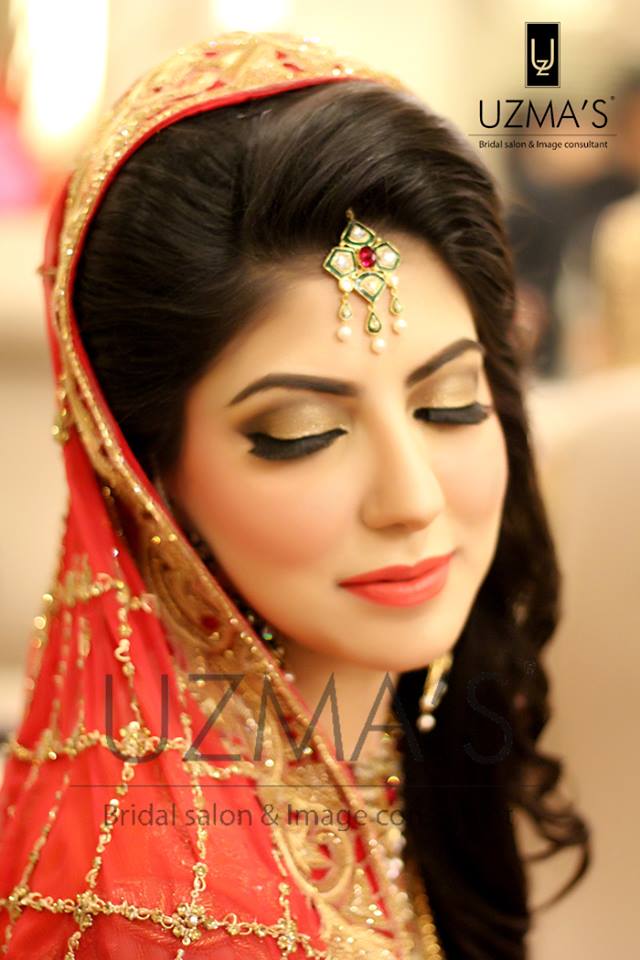
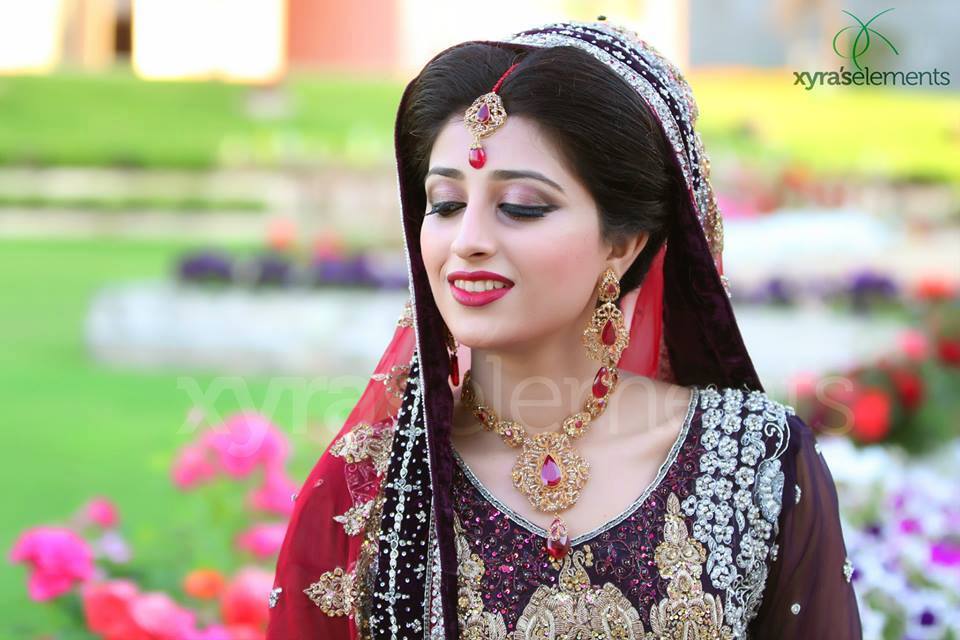
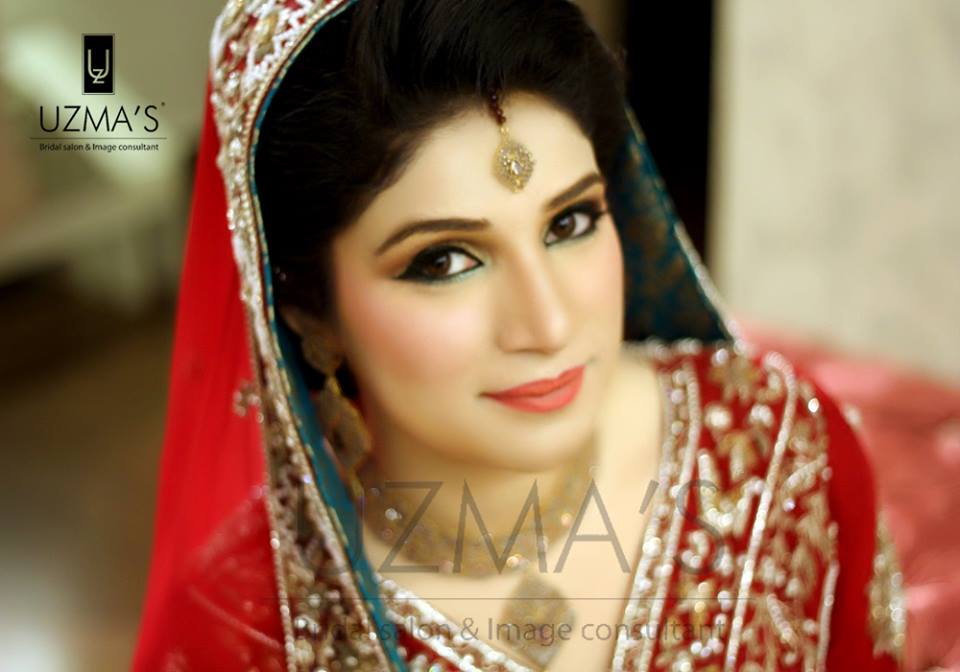
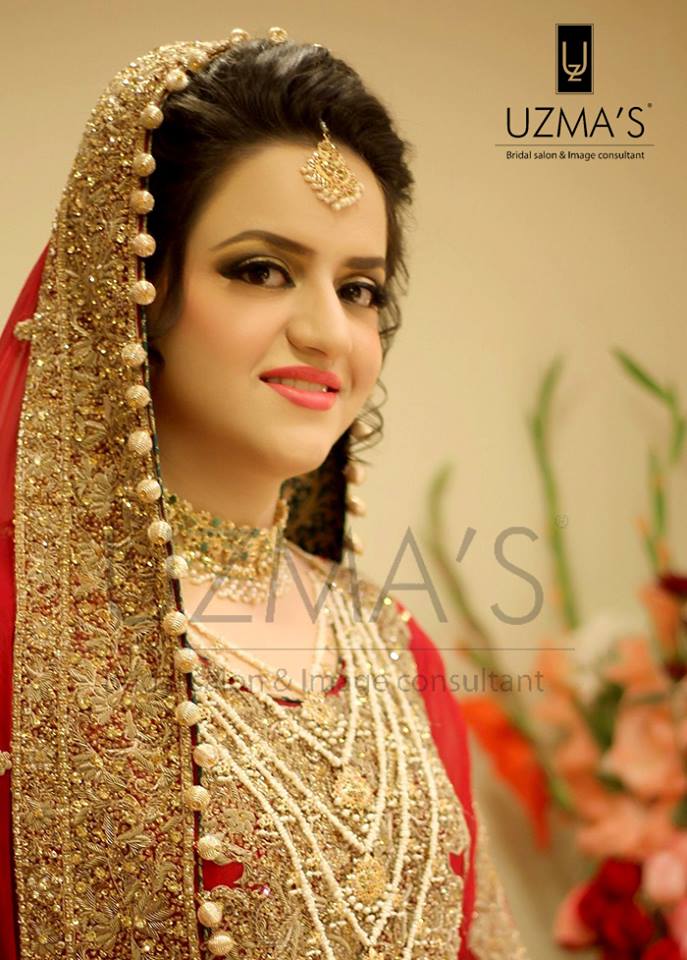
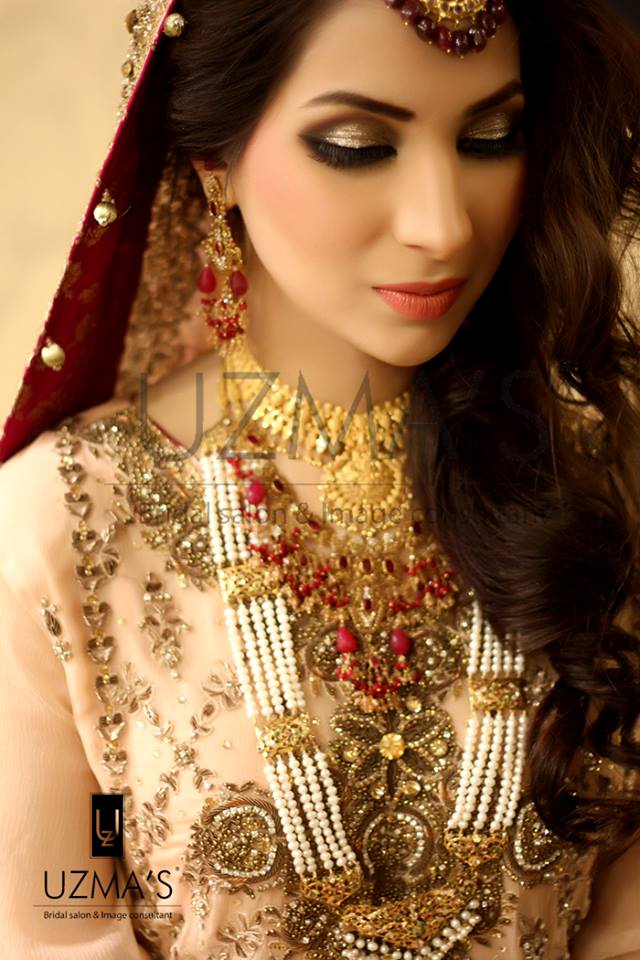
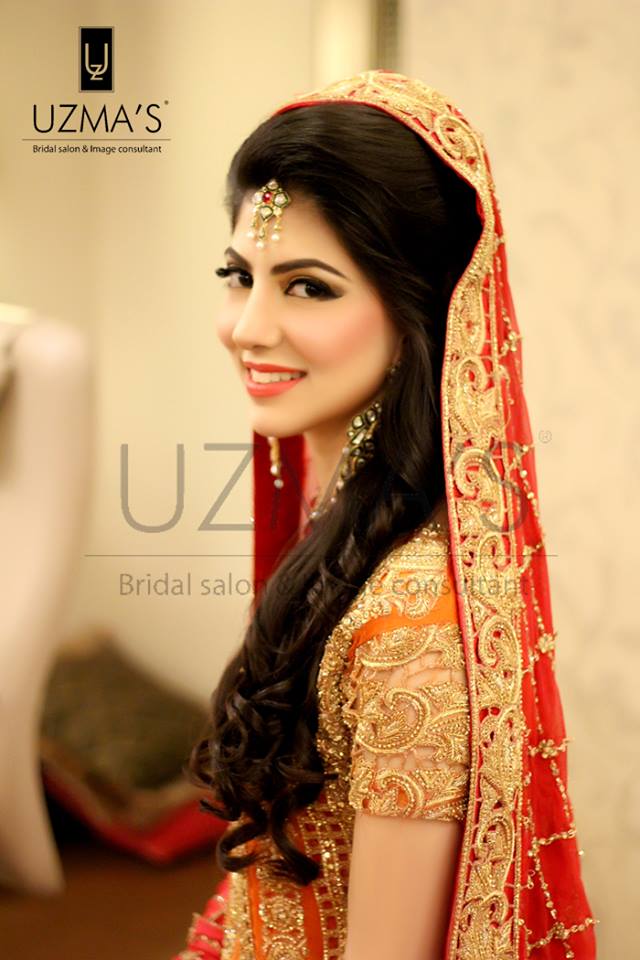
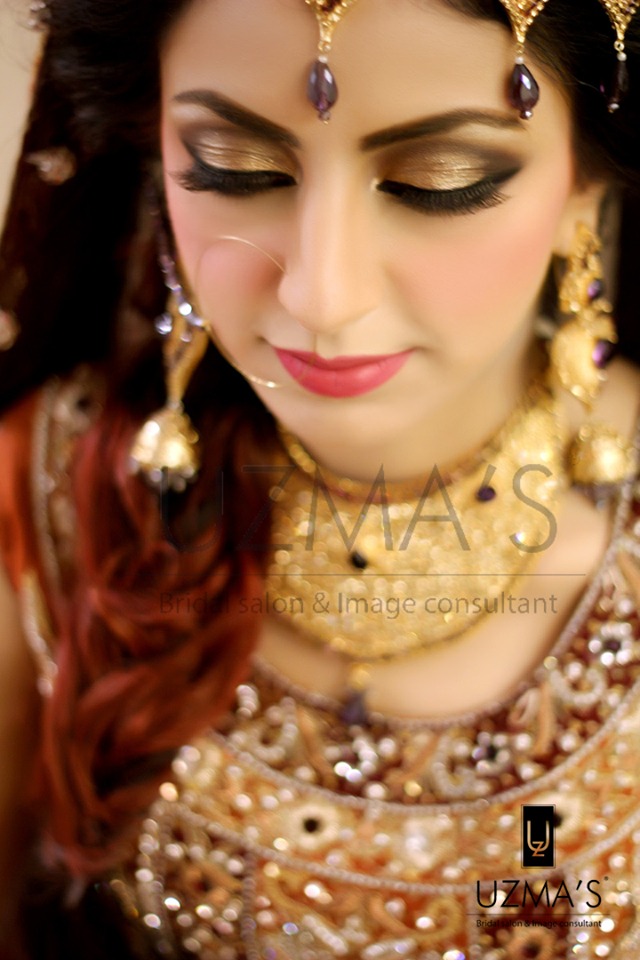
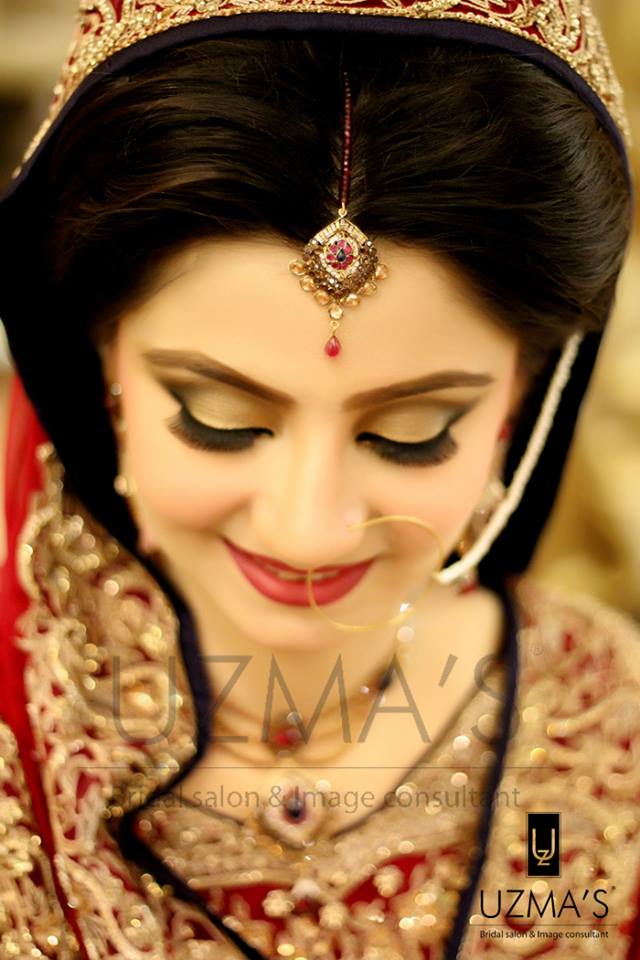
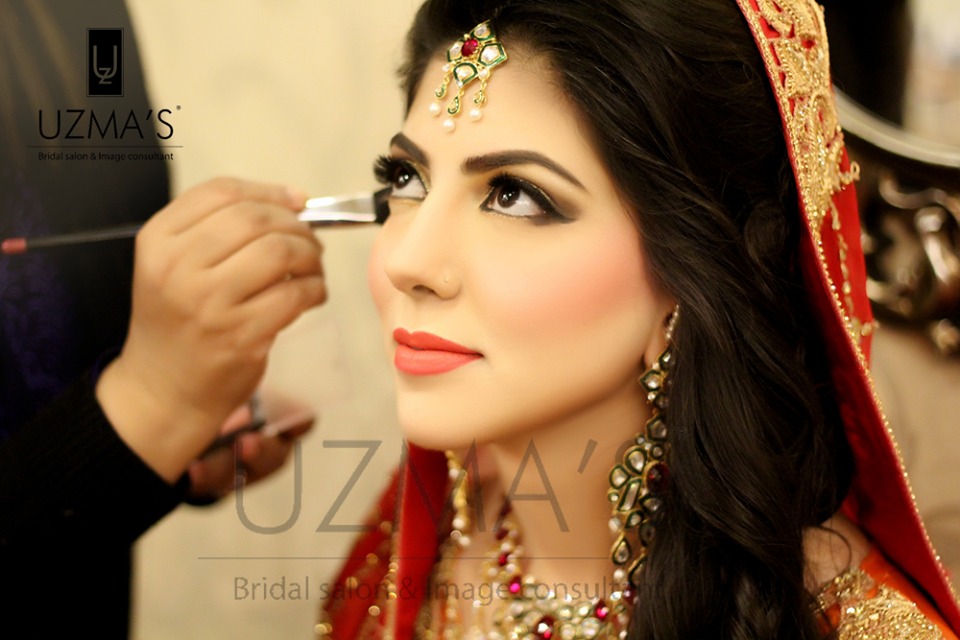
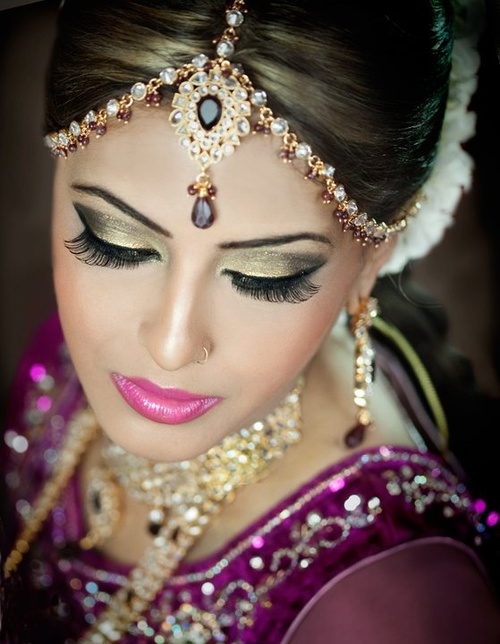
Amazing Bridal Makeup Looks:


See More As:
- Best Pakistani Bridal Makeup Tutorial Step by Step
- Amazing Asian Skin Party Makeup You Must Try
- Arabic Arabian Bridal Makeup Tutorial to Follow
- How to do a Perfect Bridal Makeup-Tips & Ideas